A Node.js server implementing Model Context Protocol (MCP) for Webflow using the Webflow JavaScript SDK. Enable AI agents to interact with Webflow APIs. Learn more about Webflow's Data API in the developer documentation.

- Get your Webflow API token
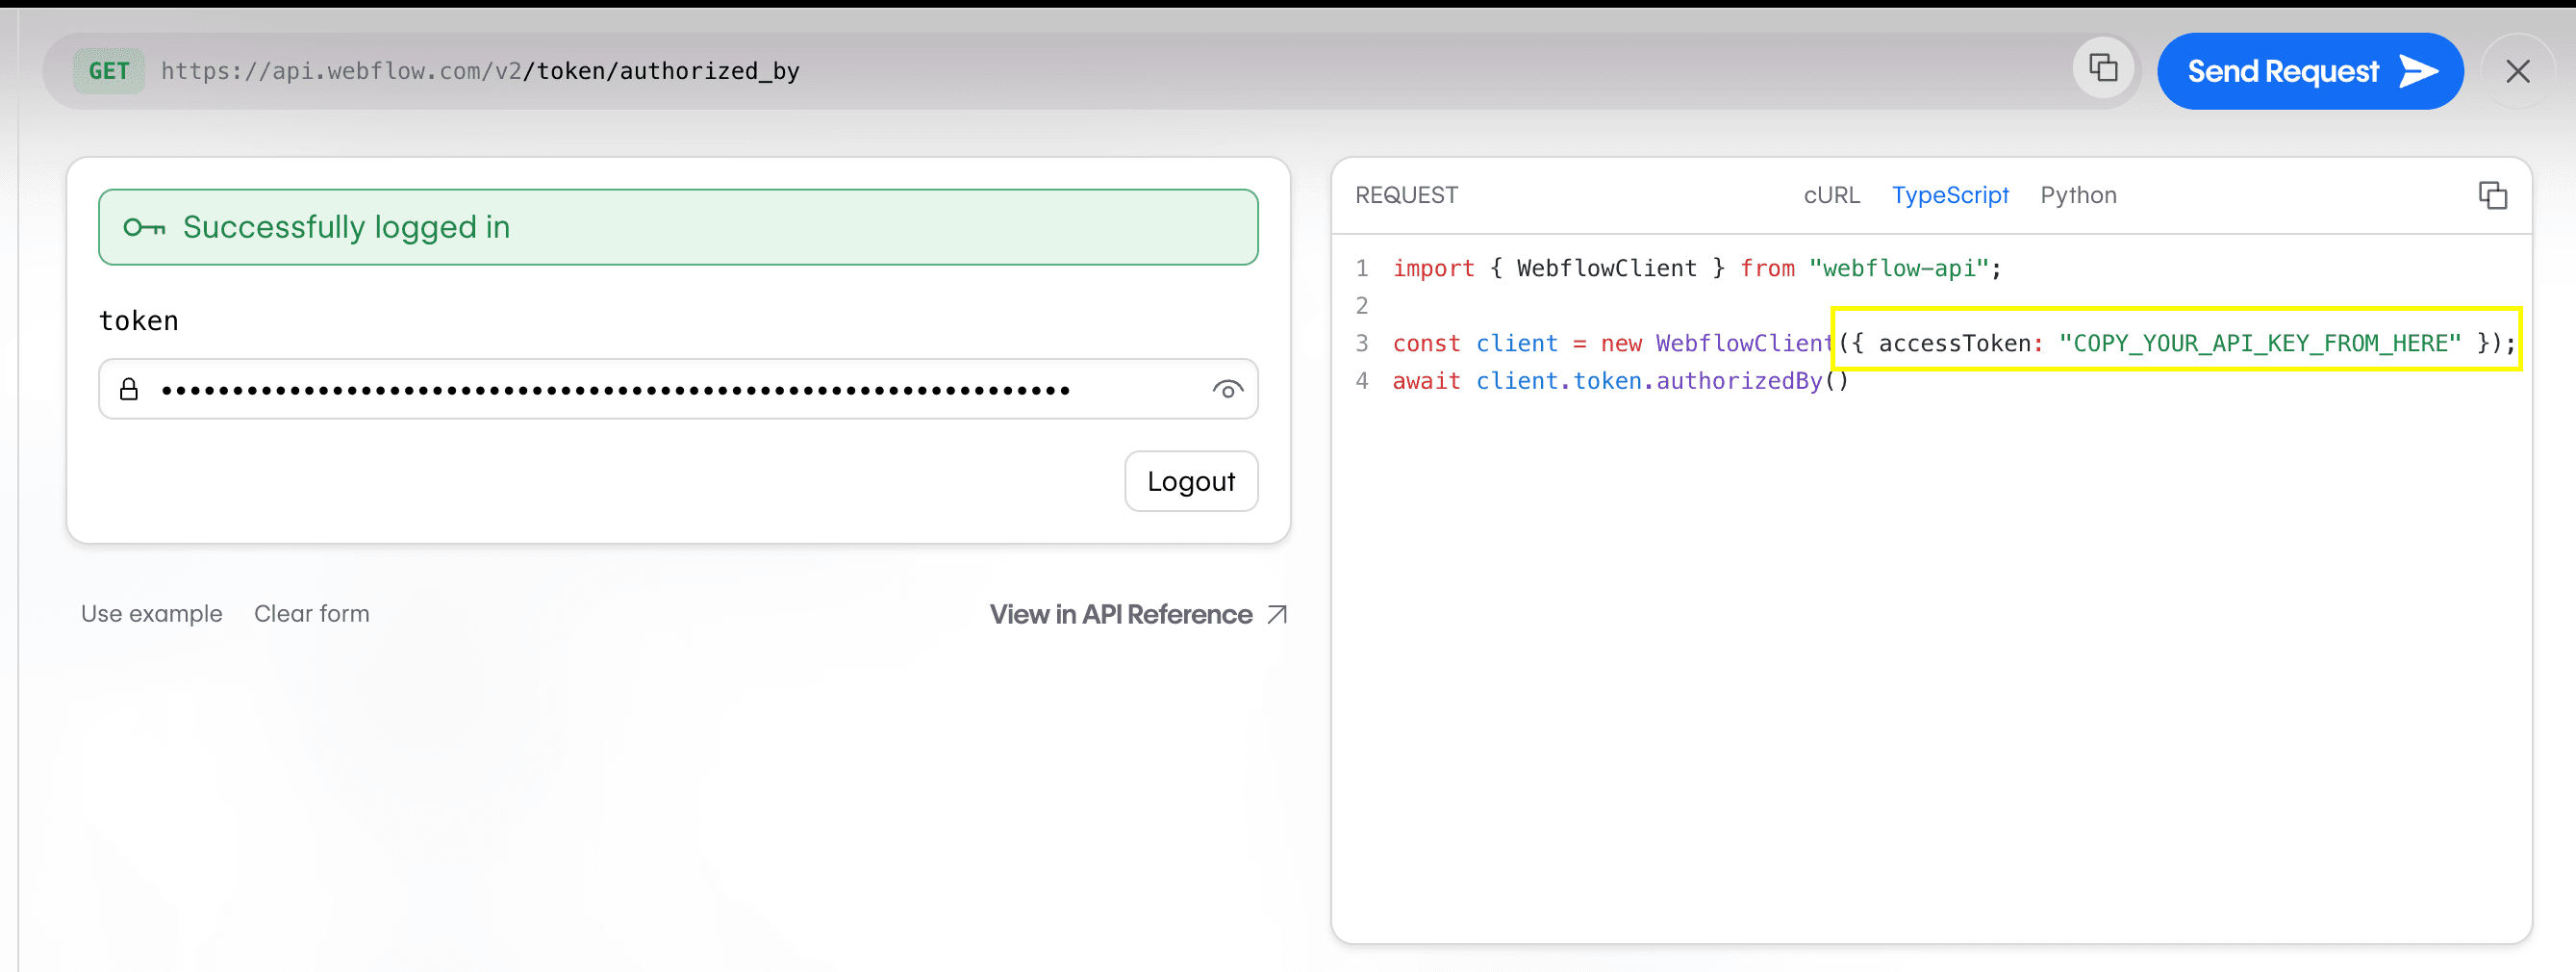
- Go to Webflow's API Playground
- Log in and generate a token
- Copy the token from the Request Generator
- Add to your AI editor
{
  "mcpServers": {
    "webflow": {
      "command": "npx",
      "args": ["-y", "webflow-mcp-server@0.4.1"],
      "env": {
        "WEBFLOW_TOKEN": "<YOUR_WEBFLOW_TOKEN>"
      }
    }
  }
}
For Cursor:
- Go to Settings → Cursor Settings → MCP
- Click
+ Add New Global MCP Server - Paste configuration
- Replace
YOUR_WEBFLOW_TOKENwith the token you copied earlier - Save and restart Cursor
For Claude Desktop:
- Open Settings → Developer
- Click
Edit Config - Open
claude_desktop_config.jsonin a code editor and paste configuration - Replace
YOUR_WEBFLOW_TOKENwith the token you copied earlier 5. Save and restart Claude
If you are having issues starting the server in your MCP client e.g. Cursor or Claude Desktop, please try the following.
- Go to Webflow's API Playground, log in and generate a token, then copy the token from the Request Generator
- Replace
YOUR_WEBFLOW_TOKENin your MCP client configuration with the token you copied - Save and restart your MCP client
Run the following commands to confirm you have Node and NPM installed:
node -v
npm -vSometimes clearing your NPM cache can resolve issues with npx.
npm cache clean --forceIf npm -v doesn't work for you but sudo npm -v does, you may need to fix NPM global package permissions. See the official NPM docs for more information.
Note: if you are making changes to your shell configuration, you may need to restart your shell for changes to take effect.
sites - list; // List all sites
sites - get; // Get site details
sites - publish; // Publish site changes
pages - list; // List all pages
pages - get - metadata; // Get page metadata
pages - update - page - settings; // Update page settings
pages - get - content; // Get page content
pages - update - static - content; // Update page content
collections - list; // List collections
collections - get; // Get collection details
collections - create; // Create a collection
collection - fields - create - static; // Create a static field
collection - fields - create - option; // Create an option field
collection - fields - create - reference; // Create a reference field
collection - fields - update; // Update a custom field
collections - items - create - item - live; // Create items
collections - items - update - items - live; // Update items
collections - items - list - items; // List collection items
collections - items - create - item; // Create collection items (staged)
collections - items - update - items; // Update collection items (staged)
collections - items - publish - items; // Publish collection items
This implementation does not include prompts or resources from the MCP specification. However, this may change in the future when there is broader support across popular MCP clients.
If you want to run the server in development mode, you can install dependencies and run the server using the following command:
- Clone and install:
git clone git@github.com:webflow/mcp-server.git
cd mcp-server
npm install- Add your token to a
.envfile at the root of the project:
# .env
WEBFLOW_TOKEN=<YOUR_WEBFLOW_TOKEN>- Start development server:
npm start